

This week I'm making Christmas decorations. I'm trying to focus on upcycling and recycling in my Christmas crafting this year - but also have to include 'using my stash'!
This project used up some Christmas fabric I got from the charity shop for $2 and some red felt I never knew I had!
Here's how to make the banner:
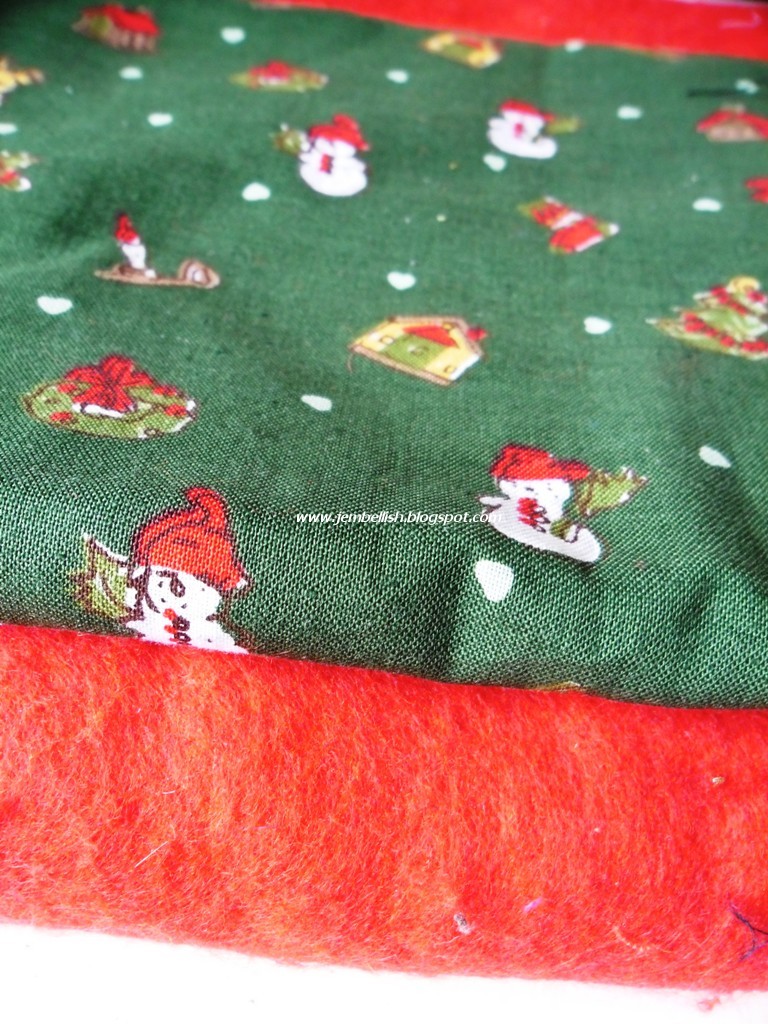
First cut out 28 squares of Christmas fabric, 12cm square (4.75")

Draw the letters for Merry Christmas onto the red felt using a white pencil, and cut them out. Use one of the fabric squares to judge the size of the letters.

Stitch each letter to a square of Christmas fabric just using a simple straight stitch down the middle of each letter.

Then stitch each lettered square to another square of Christmas fabric, right sides together and leaving a small gap
at the top of the square with the letter on
to turn out.
(this just means that you don't have to stitch twice to close the gap - only once as you attach the binding!)

Trim the corners, and turn out, using scissors or a pencil/chopstick to poke the corners out.


Next step is to cut strips of fabric around 6cm (2.5") wide, and enough so when you join them together they will be long enough for all your letters, spaces in between, and enough to tie the banner at either end.
2m 20cm (87") is sufficient

Sew these strips together to make one long strip, then you need to iron the strip first in half:

Then open it up and iron both edges to the crease you made in the middle:

Then finally iron in half again, so the raw edges are completely hidden:

Now you need to pin your letters to the binding - the open part of each square should be the side you tuck into the binding:

Pin all the letters into the binding - spacing them evenly. You will need to lay the banner out to space the letters before you pin:

Then stitch along the length of the binding, securing all the letters into place.
And there you have - one Christmas Banner!
I finished mine at night....

Then tried again for better photos during daylight!


For the downloadable PDF version of this tutorial, click here.

I hope you liked this tutorial.
For over 100 more free sewing tutorials for all levels of sewing abilities, check out


What a great project. I will have to dig into my stash of Christmas Material and make one for our carport.
ReplyDeleteOne place that really needed decorations other than what I have.
Karan
Looove the daylight photo, looks so cute against that fence with the spiky plantings underneath. Charming project!
ReplyDeleteI love your photograph and its such a great detailed tutorial for a cute project. Thanks for sharing. I'm visiting from Creative Blogger's Party & Hop.
ReplyDeleteI appreciate your work...and I am definitely going to to do this with red dog beds
ReplyDeleteLoved the giftie for Day 6!! So adorable!!
ReplyDeleteAnd your banner is so cute!!
Thanks for all the gifts
Hugs
SueAnn