
Four years ago now, I made my first set of shopping bags from an old sheet that we never used. I used them every week for my food shopping:

I made myself a second set too - so that one stays in the car, in case I forget to put the other set back after emptying my shopping out each week!
Four years on, these bags are still going strong.
I decided to make them after my supermarket 'green' bags began to tear and rip. One even biodegraded in our tropical heat and I found it in tatters one day on the floor! Some of the ladies who worked in the supermarket told me that often the bags begin to smell after a while too.
These bags from sheets have lasted and lasted so well. I've never had to repair any stitching or tears, can put meat products direct into them knowing that if the packet leaks, the bags just get thrown in the wash and they're clean and fresh smelling once again!
So have I convinced you yet? Do you want to make your own set of environment friendly - and pretty shopping bags?
I made myself a new set, just so that I could make up a tutorial! I'm sure I'll find a friend who would like a set that will gain them as a gift, as there are only so many shopping bags a girl needs!!
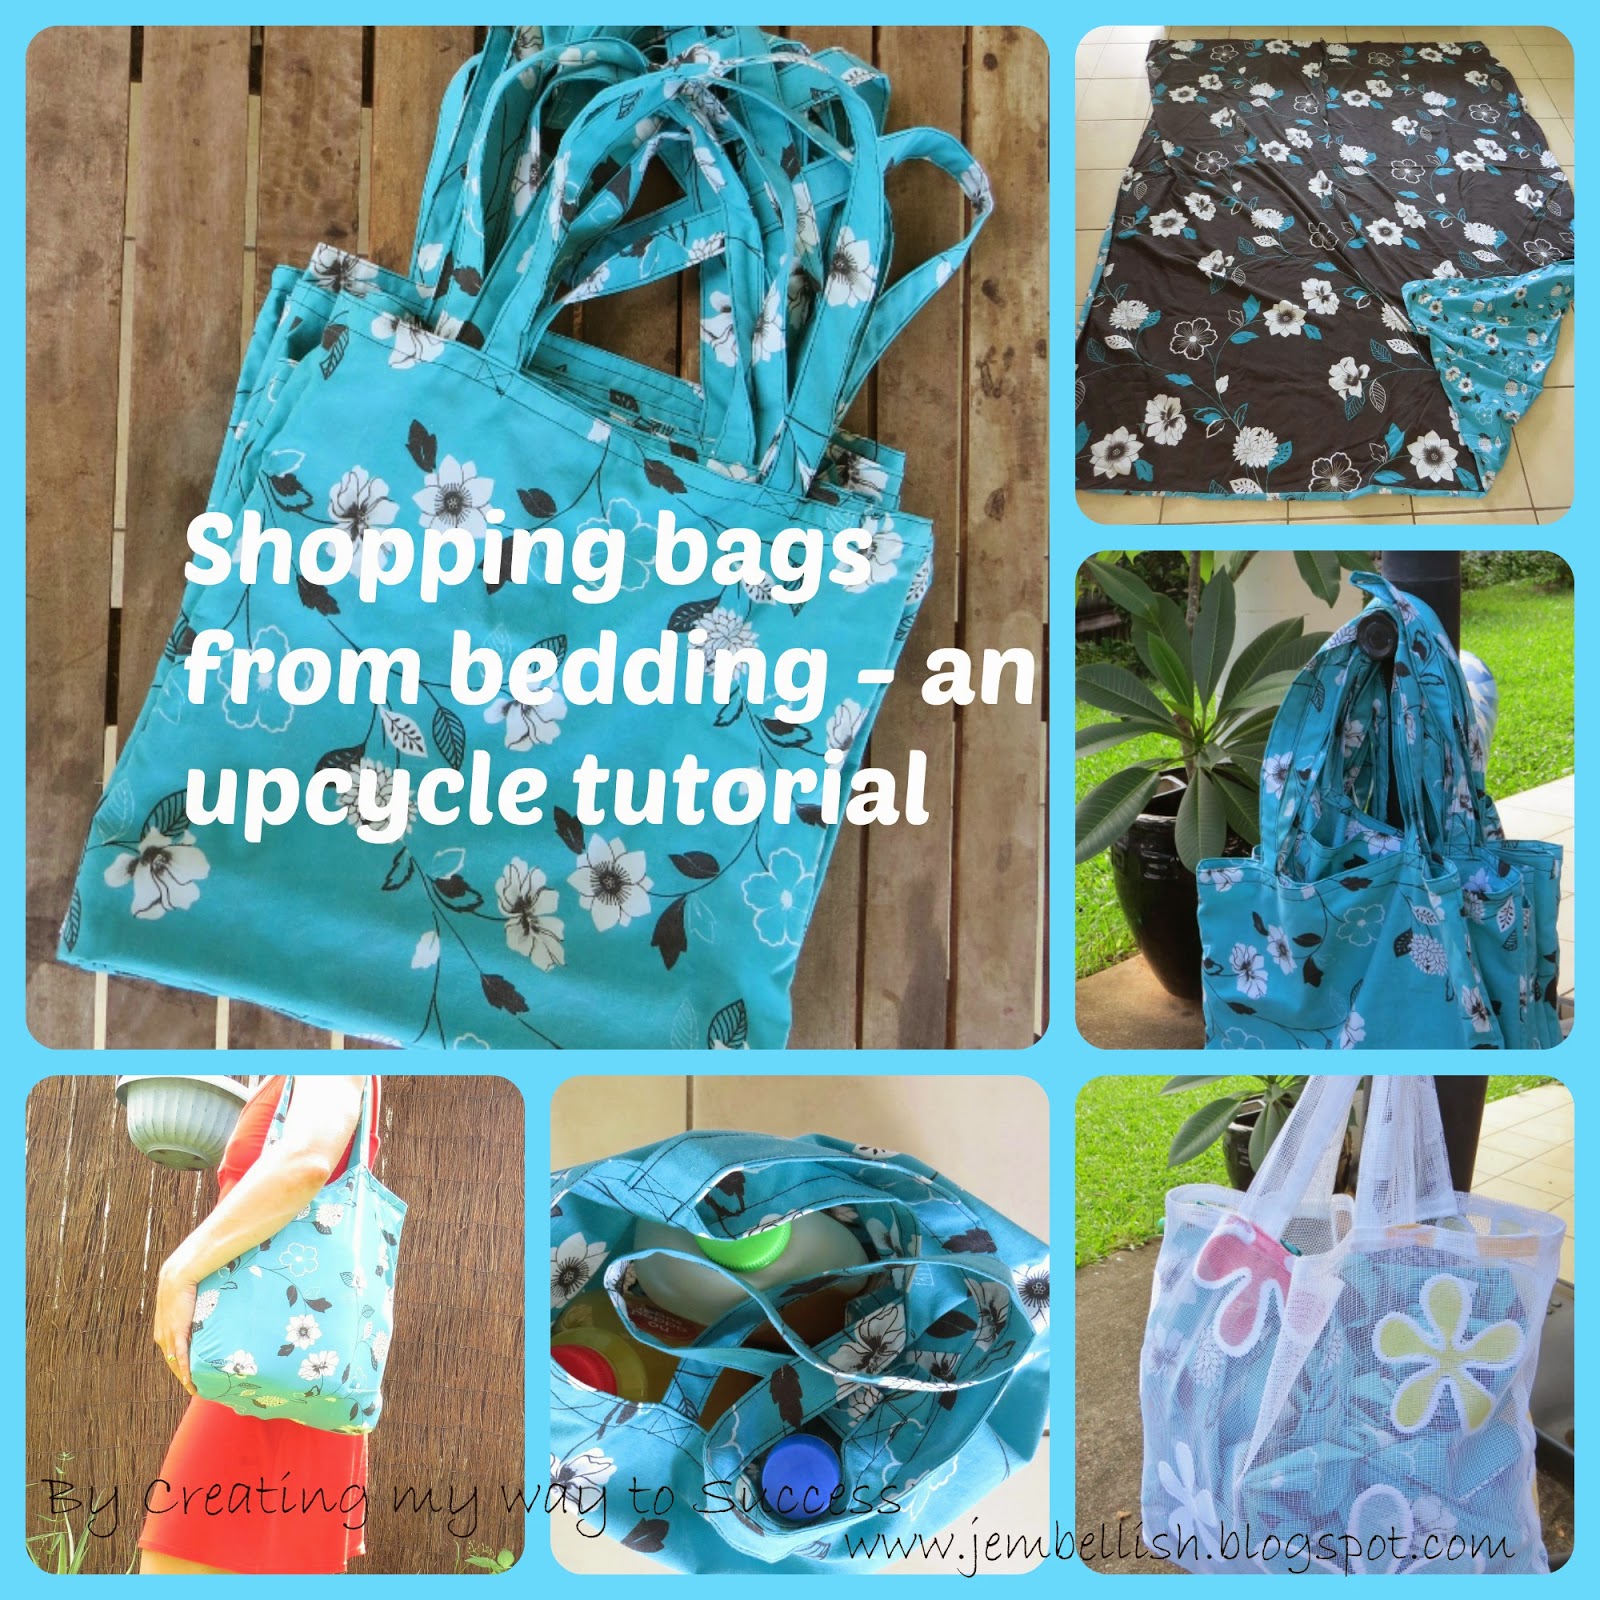
So, here's how to make your own sturdy shopping bags from old bedding.
I bought an old doona (duvet) cover from a charity shop for a few dollars to use for this.
First lay it out and cut off the seams.
.jpg)
Then for each bag you need to cut:
1 piece 90 x 43cm (35.5 x 17")
2 straps 62 x 10cm (24.5 x 4")
.jpg)
Main Bag Part
Fold the main bag part lengthways in half, WRONG sides together.
The next part makes the bottom of the bag sit better when packed full of groceries.
Lift up the bottom fold of the bag with your fingers inside the fold.
The fold is shown in the pictures, as it is too confusing to try and explain in words!

Pin both sides and stitch.
.jpg)
Now trim the seams very close to your stitching:
.jpg)
.jpg)
Then turn the bag right sides in again making sure your seams are flat.
.jpg)
.jpg)
Stitch along those seams again - a little wider than your regular seam to make sure you completely enclose the seam you trimmed. This completely covers the raw edges and is called a 'French Seam'. It's a neat way to finish seams if you don't have an overlocker (serger)
.jpg)
Turn your bag right sides out and that's the main part done!
The straps
Take one strap piece and fold the long outer edges into the centre. Then fold the whole thing in half again to completely enclose the raw edges. If you find it easier you can iron each step here to hold the fabric in place before stitching.
Then top-stitch along both sides of your strap. Repeat for the other strap.

Attach the straps to the bag
Open up the top of your bag and place one strap approximately in place like this:
.jpg)
Fold the top of your bag inwards about 1cm (0.5") and place the edge of the strap on top edge to edge.
.jpg)
Then fold the top of the bag over once more together with the strap, then lift the strap upwards and pin into place. This way the raw edge is once again completely hidden.
.jpg)
Repeat with the other side of the strap:
.jpg)
Turn the bag over and attach the other strap to the other side of the bag in the same way - matching the placement up with the first strap:
.jpg)
Stitch all the way around both the top and bottom of this seam.
.jpg)
Also stitch an extra box and cross at each handle for extra strength.
.jpg)
That's it! One shopping bag finished!
.jpg)
Ready to fill up with your groceries!
.jpg)
I made 8 bags from one side of the doona (duvet) cover - which was King Size. That is generally enough for my weekly shop.
.jpg)
.jpg)
One of the best things I like about these bags is the long straps so when I'm carrying the heavy bags in from the car I can carry them over my shoulder:
.jpg)
I put all my shopping bags in a small tote (one I made from a pretty net curtain) and try to keep it in the car ready for my weekly shop!
.jpg)
Of course I had to test out this new set of bags for my weekly shop a few days ago!
.jpg)
.jpg)
.jpg)
.jpg)
I always get nice comments on my pretty shopping bags.
I hope you make yourself a set too - I'd love to see pictures from anyone who does!!

Why not make a stylish new handbag to carry all your new shopping bags in to make sure you never forget them again! My new e-book contains the main tutorial and pattern for the handbag (made from old jeans) with a special section just for your shopping bags, plus some extras too! Go here to read more.

If you liked this tutorial, I have over 100 free sewing tutorials for all sorts of different things at all different levels of ability from beginners to experienced sewers:

Happy Upcycling, Sewing and of course Shopping!

I always forget to put my bags back in the car, too. Having a shoulder strap is such a good idea, as it makes them much easier to carry. A great set of bags, Jill.
ReplyDeleteThanks Pam!
DeleteJill, thank you sooo much for this tutorial!! I was trying to copy some canvas bags that I use and was a bit confused about how to sew the bottom with that fold. You made it perfectly clear for me. Always love your posts and good luck with your writing. Lynda
ReplyDeleteThanks so much Lynda, glad my explanation was clear! :)
DeleteGreat tutorial - we bought Onya bags made from recycled parachute silk 10 years ago and they are still going strong - but it is remembering to put them in the car!! Brings back memories of our hols in Australia when we use them:)
ReplyDeleteOh those Onya bags are great - see them all over the place in the markets here!! Nice to know they're so durable too! :)
DeleteSwell idea - many thanks for sharing. Never would have figured out that fold at the bottom on my own. :)
ReplyDeleteThanks Kate!
DeleteLove the tutorial! I have a few sheets that might just get a make over. Thanks for sharing.
ReplyDeleteThanks Kelley!
DeleteWao great idea thku dear
ReplyDeleteThank you!
DeleteThis comment has been removed by the author.
ReplyDeleteStill a bit confused about the fold at the bottom. Do the side seams totally enclose the fold?
ReplyDeleteYes Talya, the side seams do totally enclose the fold! Once you've made the fold, stitch right over all the layers and folds parallel to the edge.
Deleteyou're cute!@challo
ReplyDeleteThank you!
DeleteHave a king size sheet that was ripped almost into two pieces I almost used for this tote bag, but considering the thread count (600) will make pillow slips from it. Have a Goodwill Store about a mile away, and betting they have some sheets or curtains that are cheaply priced and maybe heavier material which will work beautifully! I appreciate the charming tutorial. Thank you.
ReplyDeleteThank you! Hope you find some sheets or curtains to make some bags!
DeleteStumbled up this and love the idea. I am having trouble viewing the pictures though.The thought of up cycling and out duvet cover is awesome
ReplyDeleteThank you! I've tried to make the instructions as clear and straightforward as possible. Hopefully you can understand the words without the pictures!
DeleteLove it. I make my own grocery bags all the time but never thought of using a sheet. One question, in the first picture you show a darker sheet with the lighter pattern underneath. Where does the darker pattern fit in? I thought it would be on the inside as a lining but the other pictures don't show it.
ReplyDeleteThere's no lining to these bags as they don't really need it. The darker fabric is the other side of the duvet cover. It's still sitting in my fabric stash box waiting to be made into something else!! :)
DeleteJill I am so pleased I found your tutorial. This bag is just what I have been needing. I plan to make 15 for my paper craft class members to take on our crafty trips to craft shows. Can you imagine all 15 of us with matching bags ... great. Thank you from a non-sewer this will make it so easy for me to make.
ReplyDeleteJill, I just have to make another comment ....... I am from a village outside of Durham. Thanks again for making it sew easy !
DeleteThanks so much for your lovely comment Kimberley! So glad you like this tutorial and I love the image of 15 of your with matching bags!! I'd love if you sent me a picture of that and I could feature it here on my blog!!
DeleteJill, I just have to make another comment ....... I am from a village outside of Durham. Thanks again for making it sew easy !
ReplyDeleteSo close to my home town!! I'm from North Shields!! :)
DeleteJill this is a great idea. Sheets come in such great patterns and who has not found a cute vintage sheet in a thrift shop.
ReplyDeleteThanks Emma!
DeleteA lovely upcycle and a great result. We have just gone bag free - or you have to pay for them in the UK so these would be really popular.
ReplyDeleteThanks Fiona! I wish they would start charging for plastic bags here in Australia too! That might slow down the consumption of them!
DeleteWow, this is a great upcycle, and you get all your bags to look the same. I was thinking that this would be a great idea for making party packs too.
ReplyDeleteThanks Agy! Yes - great idea for party packs!!
DeleteHi, thank you so much for sharing this tutorial, it was so easy to follow for a sewing novice! I used it to make some shopping bags for Christmas presents using second hand children's curtains, it worked really well. There's some photos of my bags here:
ReplyDeletehttps://skysongsews.blogspot.co.uk/2018/01/shopping-bags.html
Thanks again!
Thanks for taking the time to comment! I'm so glad you found the tutorial helpful. I just popped over to look at the bags - great fabric!
DeleteGreat tutorial. You made it look easy to do and follow. One question, about how many inches are you folding into the fold on the bottom? I can't tell in step 4 how much is folded into the bottom.
ReplyDeleteHi Teresa, The fold on the bottom is roughly 3 inches deep - but it doesn't really matter - you can make it whatever size you like!
DeleteThis comment has been removed by the author.
ReplyDeleteWow, very inspiring and a great idea! Plastic shopping bags don't look nearly as good or last as long. Plus I was just going to clear out the linen cupboard and recycle some old duvet covers - now I'm going to try this. Thank you.
ReplyDeleteWould you consider selling me a set of bags? I'm a widow with arthritis, so sewing would be a problem.
ReplyDelete